2×2 Video Wall: A Practical Guide to a Four-Screen Display
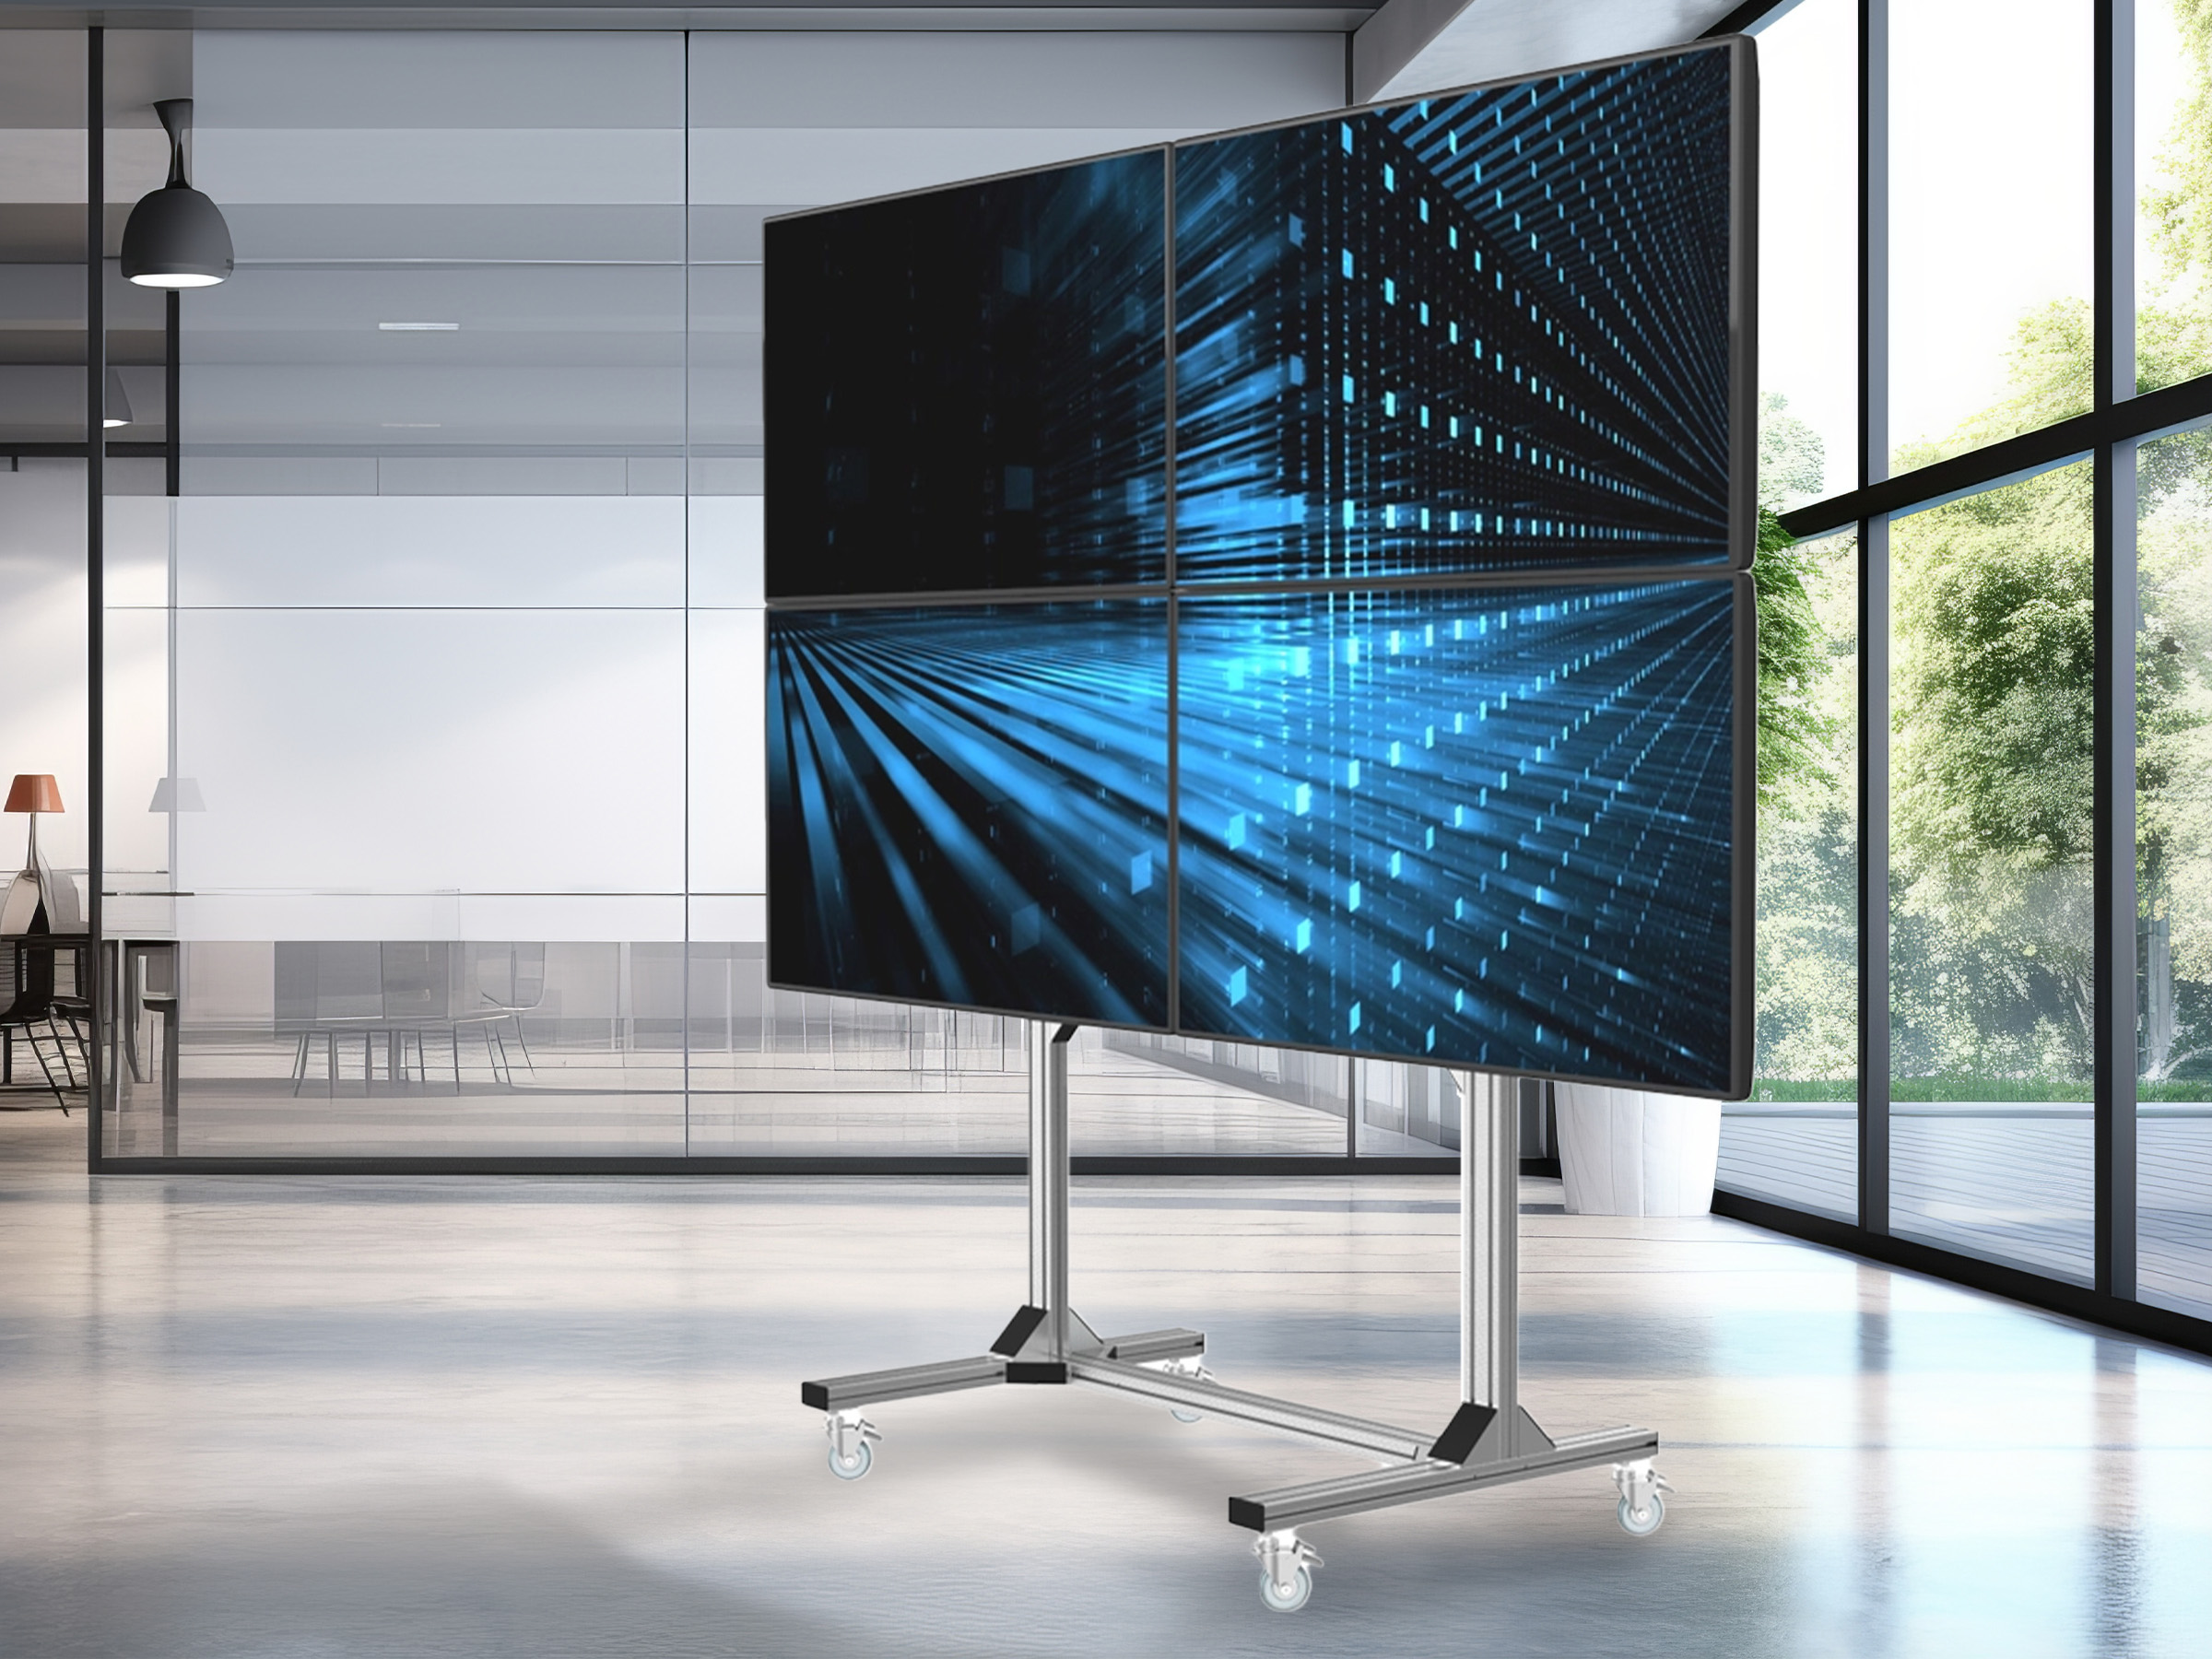
A 2×2 video wall combines four display screens in a two-column, two-row layout to create one large viewing surface. It can show a single image or video across all four screens, or display different content in each section. This versatile arrangement is used in control rooms, offices, retail spaces, educational institutions, transport hubs and other environments where information needs to be seen clearly by multiple people.
How does a 2×2 video wall work?
A 2×2 video wall consists of four compatible displays mounted in a grid. A video wall controller or processor manages the content, arranging and distributing it across the screens. Depending on the system, users can display one source across the entire wall, divide the wall into several content zones, or switch between different layouts.
For example, a security team may show one large camera view across the wall or display four separate camera feeds at the same time. In a meeting room, the screens might present a single presentation or show several information sources side by side.
Common uses for a 2×2 video wall
- Security and control rooms: View CCTV feeds, dashboards, maps and operational information.
- Corporate offices: Display presentations, internal communications, reports and live updates.
- Retail and showrooms: Present promotional videos, product information and brand content.
- Education and training: Share lessons, demonstrations and visual material with a group.
- Transport and public spaces: Show announcements, schedules, wayfinding information and other updates.
- Events and venues: Provide a larger viewing area for presentations, live video and event content.
Benefits of a 2×2 video wall
- Larger viewing area: Four displays create a prominent screen that is easier to see from a distance than a single monitor.
- Flexible layouts: Content can be arranged to suit different tasks, from one full-wall image to several independent feeds.
- Clearer shared information: A video wall can help teams and visitors view the same content together.
- Expandable design: A 2×2 layout can be a suitable starting point for organisations that may consider a larger configuration later, subject to system compatibility.
- Professional presentation: A well-planned installation can create a neat, coordinated display for business or public-facing spaces.
What to consider before installation
Choosing the right equipment and planning the installation carefully can make a significant difference to viewing quality and day-to-day operation.
- Screen size and viewing distance: Select display sizes according to the room, audience and expected viewing distance.
- Bezel width: The bezel is the border around each screen. Narrow-bezel displays can reduce the visible lines where screens meet, although the joins do not disappear completely.
- Brightness and lighting: Consider ambient light, reflections and whether the wall will be used continuously.
- Resolution and content: Match the display resolution and controller capabilities to the images, video and data that will be shown.
- Video wall controller: Confirm that the controller supports the required number of inputs, output resolution and content layouts.
- Mounting and alignment: A stable mounting structure and precise alignment help create an even, professional-looking grid.
- Power, cabling and ventilation: Plan cable routes, power requirements and airflow around the displays before installation.
- Maintenance and access: Allow for practical access to screens and system components for cleaning, servicing and future adjustments.
Planning the right layout
Before selecting a 2×2 video wall, identify what it needs to display and who will use it. A control room may prioritise continuous operation and multiple video sources, while a reception area may focus on branded visuals and announcements. The intended use will influence the display type, controller, mounting arrangement and content setup.
It is also useful to plan how content will be managed. Decide whether staff need to change layouts, switch sources or update messages themselves, and ensure that the selected system supports those requirements.
Frequently asked questions
How many screens are used in a 2×2 video wall?
A 2×2 video wall uses four displays arranged in two rows and two columns.
Can a 2×2 video wall show different content on each screen?
Yes. With a compatible controller, it can show different sources on individual screens or combine content across the full wall. Available layouts depend on the controller and system configuration.
Can one image be spread across all four displays?
Yes. A video wall controller can scale and distribute compatible content across the four screens to create one large image or video.
Are the joins between the screens visible?
The borders between displays are generally visible to some extent. Choosing narrow-bezel screens and ensuring accurate installation can help minimise their visual impact.
Explore video wall solutions with Sonal Enterprises India
A 2×2 video wall can support clear communication, monitoring and presentation across a wide range of settings. The right solution depends on the space, content, operating requirements and installation plan. Sonal Enterprises India offers video wall and display solutions as part of its range of security, surveillance and technology systems. Contact the team to discuss your requirements and identify a configuration suited to your application.
5 Essential Tips for Setting Up a 2×2 Video Wall
- Choose matching displays with narrow bezels.
- Use a sturdy, level mounting frame.
- Check each screen’s alignment and brightness.
- Use a controller that supports 2×2 layouts.
- Plan ventilation and easy access for maintenance.
Choose matching displays with narrow bezels.
Choose four matching displays with narrow bezels to create a more uniform 2×2 video wall. Using the same model helps maintain consistent colour, brightness and image quality across all screens, while narrow bezels reduce the visible gaps between them. This creates a cleaner, more seamless viewing experience, particularly when content is spread across the entire wall.
Use a sturdy, level mounting frame.
Use a sturdy, level mounting frame to support the four displays securely and keep the 2×2 video wall properly aligned. Even a slight tilt or uneven spacing can make the screen grid look untidy and affect the viewing experience. Choose a frame suited to the combined weight of the displays, and have it installed on a wall or structure that can safely bear the load.
Check each screen’s alignment and brightness.
Check the alignment and brightness of each screen before using your 2×2 video wall. Ensure the displays sit evenly in the grid, with consistent gaps and no noticeable tilting. Match their brightness and colour settings so the image looks uniform across all four screens, especially when displaying one picture or video across the entire wall. Regular checks can help maintain a clear, professional-looking display.
Use a controller that supports 2×2 layouts.
Choose a video wall controller that explicitly supports a 2×2 layout to ensure content is correctly distributed across all four screens. Check that it can handle your required resolution, input sources and display arrangements, such as showing one image across the full wall or separate content on each screen. Confirming compatibility before installation can help avoid display issues and ensure the system suits your needs.
Plan ventilation and easy access for maintenance.
Plan for proper ventilation and easy maintenance access when installing a 2×2 video wall. Displays and related equipment can generate heat, so allow adequate airflow around the screens and keep vents clear to support reliable operation. Ensure technicians can safely reach the displays, cables and controller for cleaning, troubleshooting or repairs without disrupting the entire installation.